Getting Started with Digital Builders: A Complete Guide
Why Digital Builders Exists
If you're a coach, trainer, or educator, you're probably stitching together 4–6 different tools just to run your business. Calendly for scheduling. Kajabi or Teachable for courses. Circle or Discord for community. Stripe for payments. Zoom for sessions. Mailchimp for email. Each tool has its own login, its own billing, and its own data silo.
Digital Builders replaces all of that with one platform. Coaching sessions, courses, community, messaging, booking, and payments — all connected, all in one place. This guide walks you through getting set up from scratch, so you can go from signup to a running coaching business in under an hour.
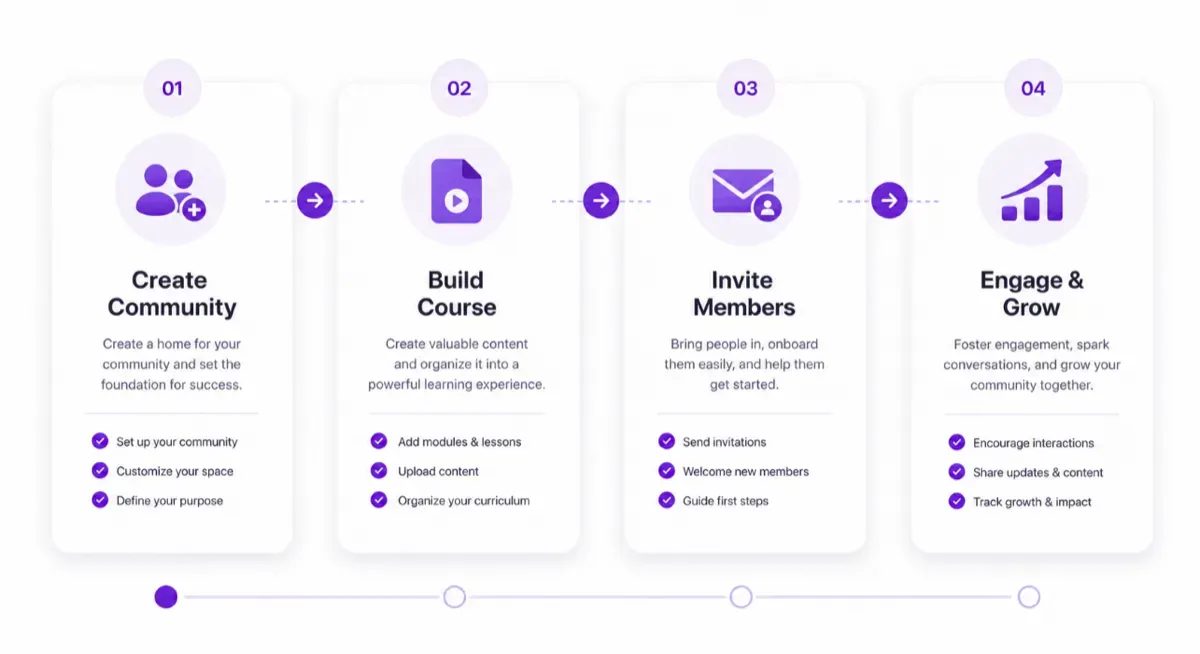
Step 1: Create Your Account and Community (5 minutes)
Sign up for free at app.digitalbuilders.io. No credit card required. Once you're in, you'll create your first community:
- Community name: This is what members will see. Use your brand name or programme name — something they already recognise.
- Logo and colours: Upload your logo and set your brand colours. This customises the member experience so it feels like your platform, not a third-party tool.
- Description: Write a one-line description that tells members exactly what they'll get. "A community for [audience] who want to [outcome]" is a reliable format.
On the Free plan, you can have up to 50 members and 1 GB of storage. That's enough to validate your concept before upgrading.
Step 2: Set Up Your Coaching Services (10 minutes)
This is what sets Digital Builders apart from course-only platforms. Coaching is built natively — not bolted on as a scheduling widget.
Define your coaching packages
Go to the coaching section and create your service offerings. For each package, define:
- Session type (1:1, group, or workshop)
- Duration (30, 60, or 90 minutes)
- Pricing (free, one-time, or package deal)
- Availability windows (which days and times you accept bookings)
Members can then book sessions directly through the platform — no back-and-forth emails, no Calendly links, no "what time works for you?" messages. The booking page shows your real-time availability, and confirmations are automatic.
Using native coaching rooms vs. BYO Zoom
Digital Builders offers built-in coaching rooms for live video sessions. On paid plans, you get native coaching hours included (40 hours on Starter, 80 on Growth, 160 on Professional). For overflow sessions, you can bring your own Zoom or Google Meet link — the platform tracks everything in one place regardless of where the call happens.
Step 3: Create Your First Course (15–30 minutes)
You have two options for course creation: manual or AI-powered.
Option A: AI-Powered Course Generation (Recommended for your first course)
Click "Create with AI" and describe your course topic. The AI generates a complete curriculum — modules, lectures, quizzes, and assignments — in under a minute. Review the structure, make adjustments, then enrich with your own videos and examples. This approach gets you from zero to published in under an hour.
Option B: Manual Course Builder
If you prefer full control from the start, use the drag-and-drop course builder. Create modules, add lectures (8 lecture types including video, text, embed, and download), set up drip schedules, and add assessments manually. This takes longer but gives you precise control over every element.
Adding assessments
Every module should include at least one quiz (for recall) and one assignment (for application). If you used AI generation, these are already created — just review and customise them. If you're building manually, the AI can generate quiz questions from your lecture content on demand.
Step 4: Set Up Your Community Spaces (10 minutes)
Courses without community have high dropout rates. Here's how to set up the social layer that keeps members engaged:
- Social feed: This is your community's living room. It's already active — just start posting. Introduce yourself, share your teaching philosophy, and set the tone for the kind of community you're building.
- Spaces: Create topic-specific spaces that map to your course modules or member interests. For a coaching programme, you might have spaces like "Accountability Check-ins," "Resource Sharing," and "Wins & Celebrations."
- Messaging: Direct messaging is enabled by default. Members can reach you with questions without posting publicly — important for coaching relationships that require privacy.
Step 5: Configure Monetization (10 minutes)
Digital Builders uses Stripe Connect for payments, which means you get paid directly — no platform holds your revenue. Set up:
- Subscription plans: Monthly or annual access to your community and courses. Define different tiers with different levels of access.
- One-time purchases: Sell individual courses or coaching packages without a subscription.
- Paywalled content: Restrict specific modules, spaces, or resources to paid members only.
Platform fees vary by plan: 10% on Free, 3% on Starter, 2% on Growth, 1% on Professional. On the founder offer (50% off for 12 months), the math is especially favourable — your subscription cost is halved while you keep the vast majority of your revenue.
Step 6: Invite Your First Members (5 minutes)
Share your community invite link via email, social media, or your existing audience. When members join, they see your social feed, your available courses, and your coaching booking page — all in one place, with one login.
For your first cohort, aim for 10–20 members. This is small enough that you can personally engage with everyone, and large enough to create genuine community dynamics. A common mistake is trying to launch big — 100 members in a community with no activity is worse than 15 members who are genuinely engaged.
Step 7: Establish Your Engagement Rhythm (Ongoing)
The first 30 days are critical. Members form habits based on what they experience in week one. Here's a simple cadence to follow:
- Daily: One social feed post (question, tip, or resource)
- Weekly: One live session or office hour (even 30 minutes counts)
- Bi-weekly: One email or announcement about new content or upcoming events
After 30 days, you'll have enough data to see what's working. Check your engagement metrics — which posts got the most responses, which modules have the highest completion rates, what questions come up most often. Use that data to double down on what resonates and adjust what doesn't.
Common Questions
"I'm already on Kajabi/Circle/Teachable. Should I switch?"
If you're paying for two separate platforms (one for courses, one for community) and manually connecting them, you're spending more money and more time than necessary. Digital Builders combines both — plus native coaching, booking, and payments — for less than most people pay for a single tool. Migration support is available for selected customers — email hello@digitalbuilders.io to discuss your case.
"Can I really run my whole business from one platform?"
Yes. Coaching sessions (with native video or BYO Zoom), course delivery, community engagement, messaging, booking, and payments are all built in. The only thing you might still need externally is email marketing for your mailing list — and even that integration is on the roadmap.
"What if I start on Free and need to upgrade?"
You can upgrade at any time without losing any data, content, or member history. The Free plan is genuinely free — no trial period, no credit card required. Use it to validate your concept, then upgrade when you're ready for more members, storage, and coaching hours.
Ready to Start?
Building a coaching or education business online doesn't have to mean juggling five tools and paying for four subscriptions. Digital Builders gives you everything in one place — and the Free plan is enough to get started today.